22 Aug 2025
Operating a yarn winding machine involves four steps plugging in power, threading yarn, adding bobbins, setting parameters before starting the machine.
Supply
Electricity
Tools
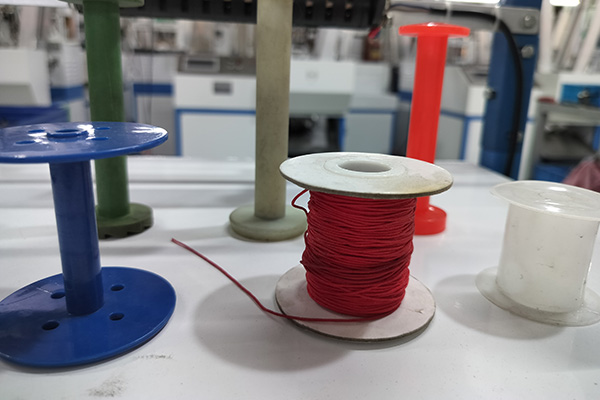
Bobbins, Yarn
Method
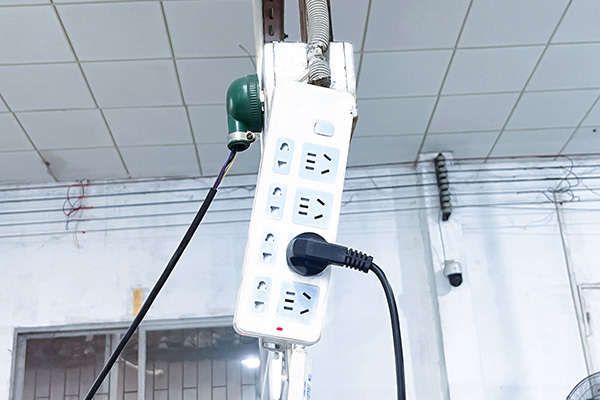
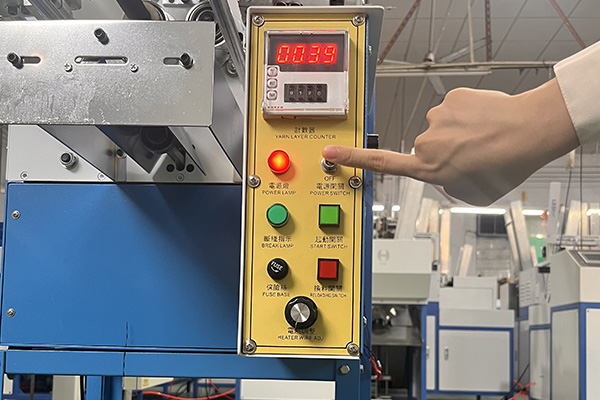
1. Plug in power and apply an upward push to the “POWER SWITCH” button.
2. The following pictures illustrates the specific yarn threading procedure. Place the yarn cone that requires winding on the floor. Then, pass the yarn through the ceramic eyelet on the creel, proceed through the yarn presser and yarn broken device on the creel, and finally guide it through the yarn closer to be wound onto the bobbin.
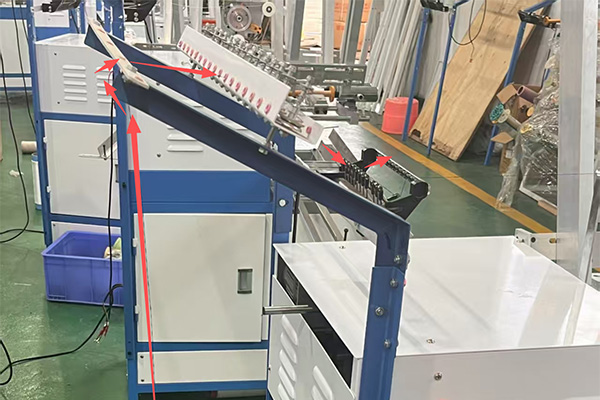
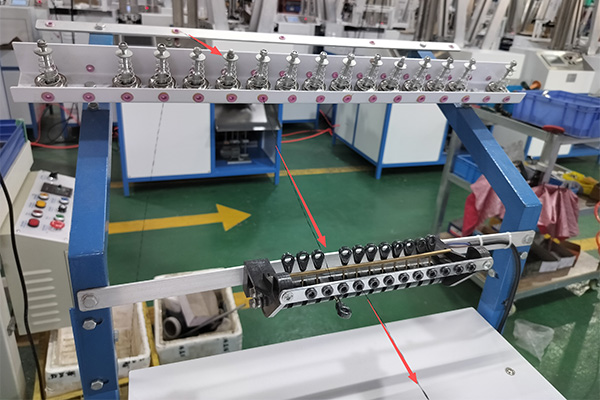
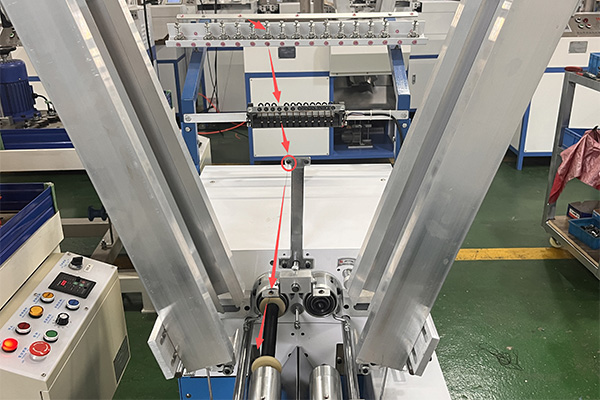
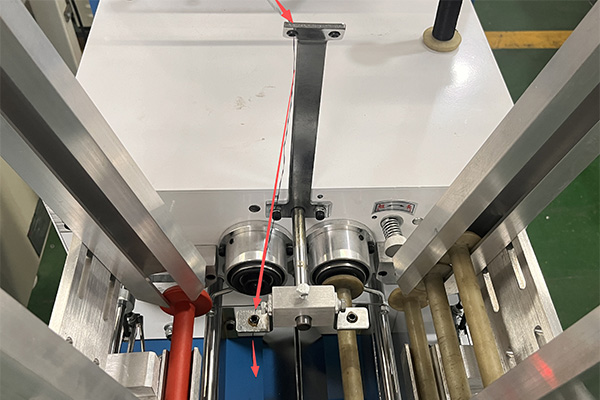
3. Place the bobbin into the aluminum chute. Each chute can contain 13 bobbins. You can place a box below the hopper to catch the bobbins.
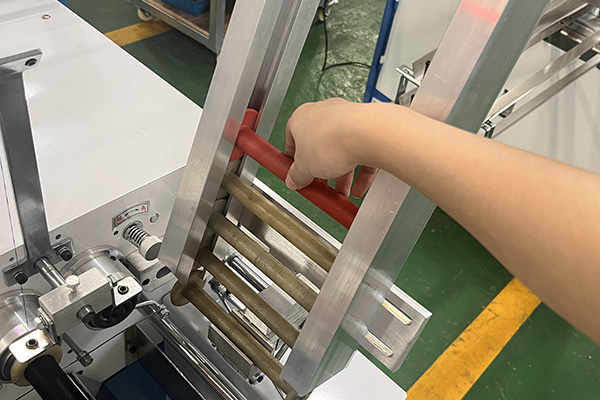
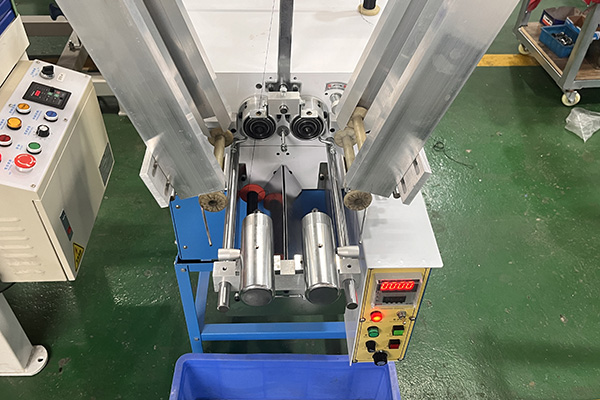
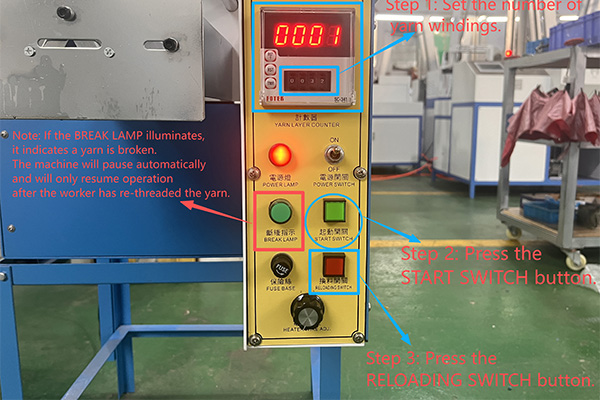
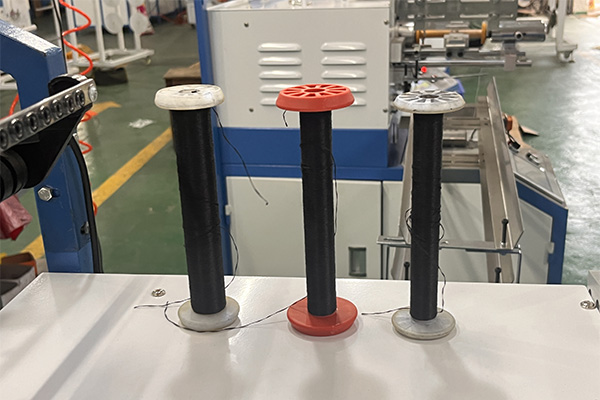
4. The first step is to set the winding number for the yarn. Simply lift the transparent cover on the screen to access and press the button to adjust the number of windings. The second step involves pressing the START SWITCH button, followed by the final step of pressing the RELOADING SWITCH. The machine will then start running. The finished product is shown in the following pictures. Note that if the BREAK LAMP illuminates, it indicates that the yarn is broken. The machine will automatically stop and can only resume operation once the worker has re-threaded the yarn.
Keywords: yarn winding machine
Originally published 22 Aug 2025, updated 22 Aug 2025.