29 Aug 2025
Operating a yarn winding machine involves four steps: plugging in power, threading yarn, adding bobbins, setting parameters before starting the machine.
Supply
Electricity
Tools
Bobbins, yarn
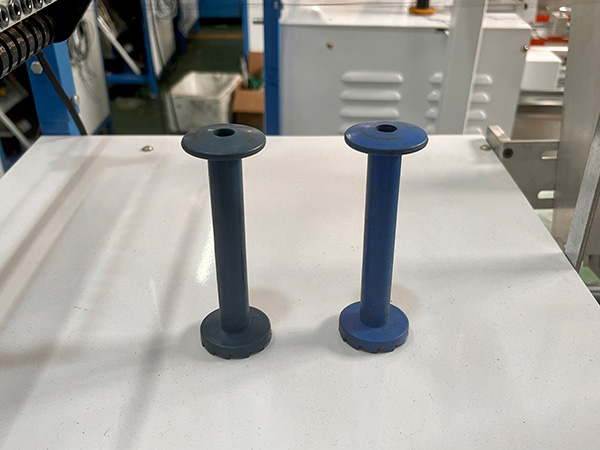
Method
1. Plugging in power
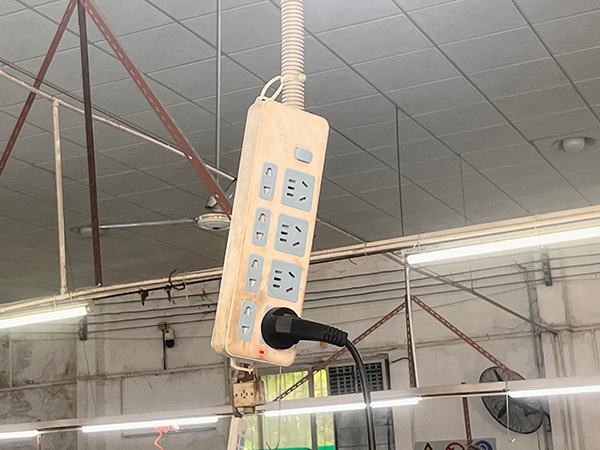
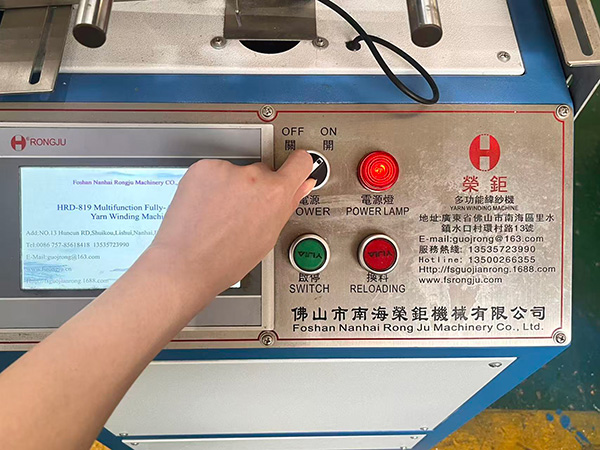
Inserting the power plug and turn on the power switch.
2. Threading yarn
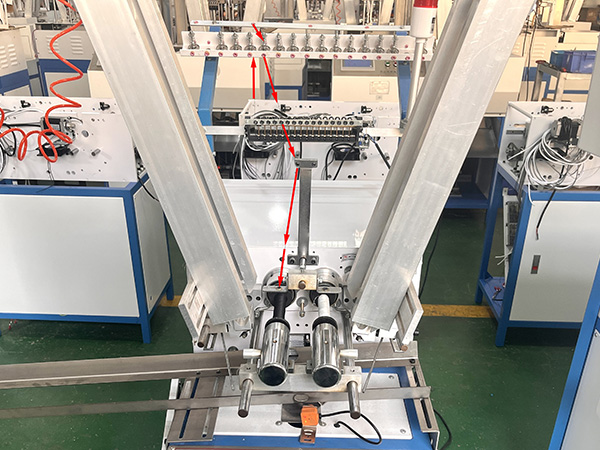
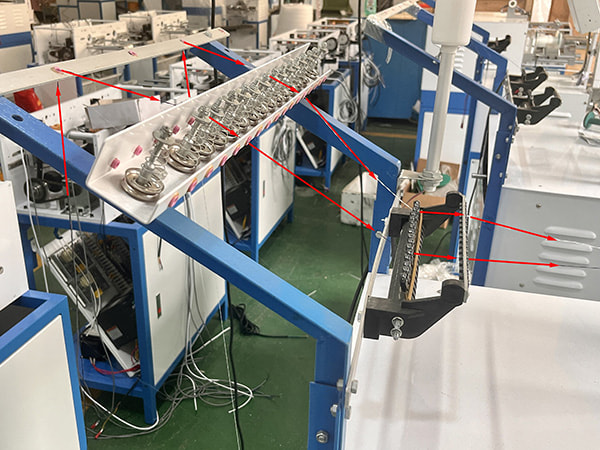
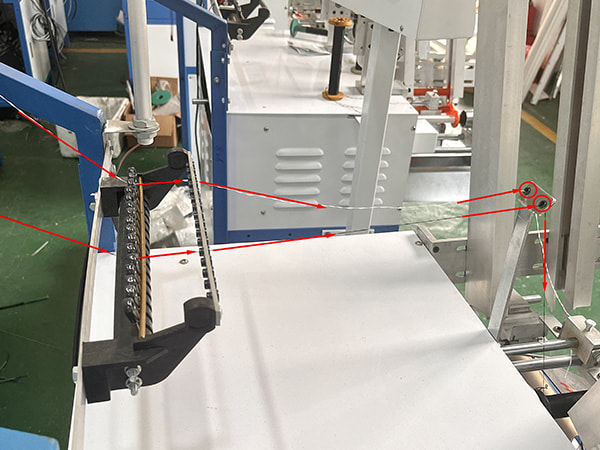
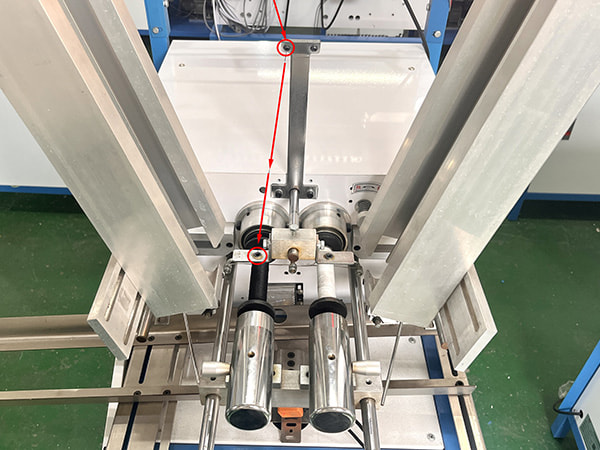
The following pictures show the complete process of threading the yarn in detail. Place the yarn cone that requires winding on the floor. Then pass the yarn through the ceramic eyelet on the creel, the yarn presser and yarn broken device on the creel, and finally guide it through the yarn closer to be wound onto the bobbin.
3. Add bobbins
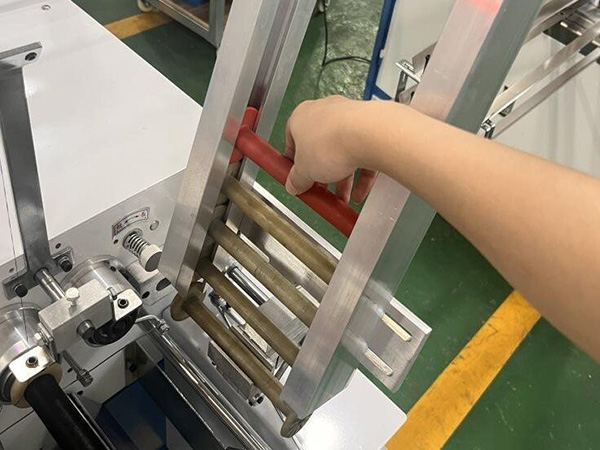
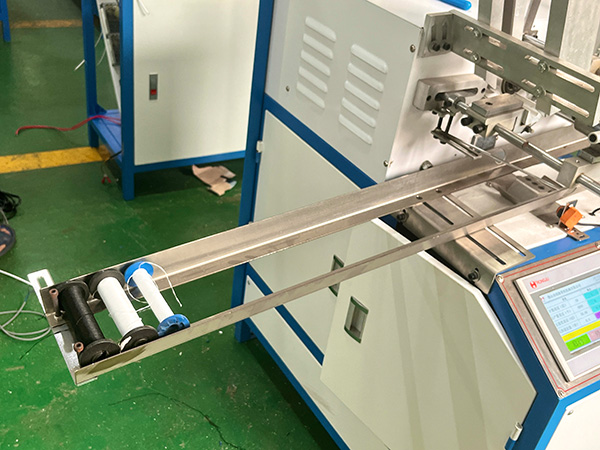
Place the bobbins into the aluminum chute. Each chute can contain 13 bobbins. The wound bobbins will be placed on the feed chute by automatic unloading equipment when the winding is completed, which efffectively prevent contamination yarn collision lax to ensure quality. The feed chute maximum can hold 16 bobbins.
4. Setting parameters and starting the machine
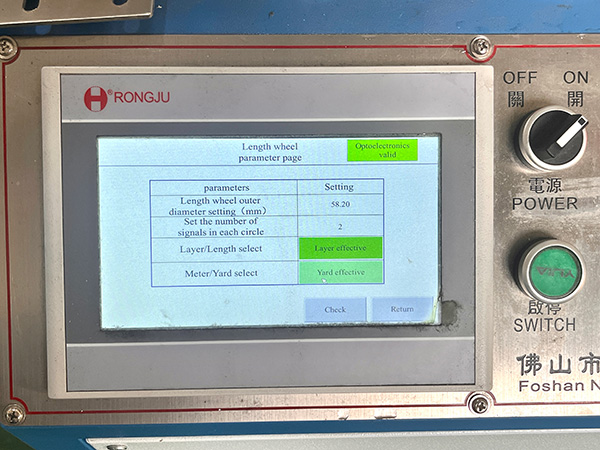
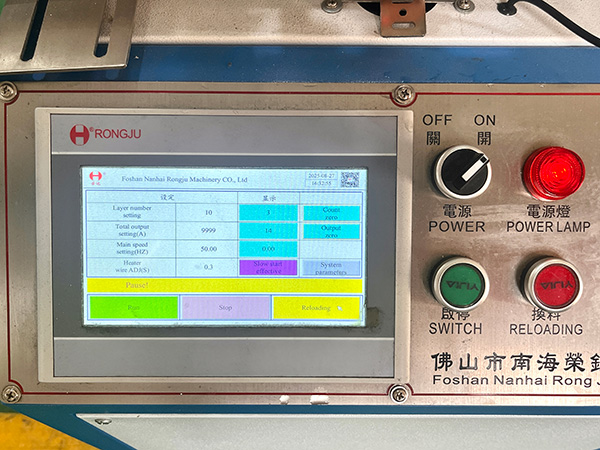
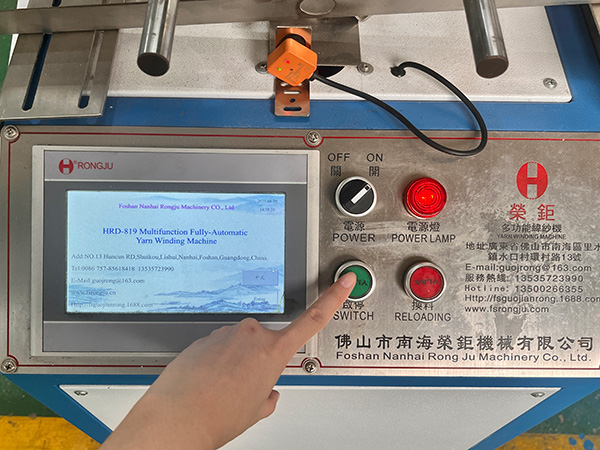
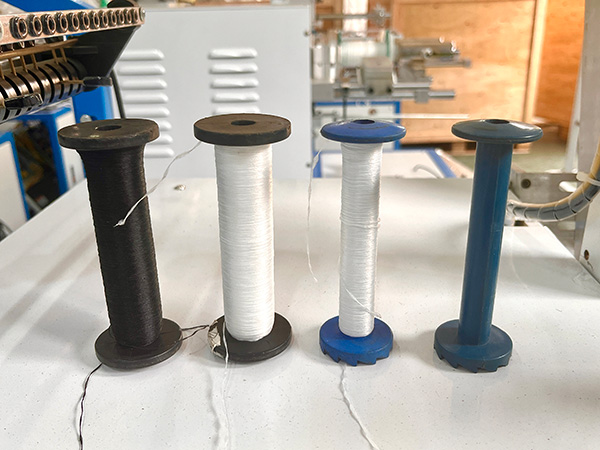
The first step is to set the “Layer effective” and “Optoelectronics valid” to ensure that photoelectric sensor can sense whether the feed chute is full. The second step is to set the winding number for the yarn on the control panel of touchscreen. The final step is to press the SWITCH. The machine will then start running. The finished product is shown in the following pictures.
Note that if the warning light illuminates, it indicates that the yarn is broken or the photoelectric sensor for blocking material was not installed properly. The machine will automatically stop and can only resume operation once the worker has re-threaded the yarn or reinstall the the photoelectric sensor.
Keywords: yarn winding machine
Originally published 29 Aug 2025, updated 29 Aug 2025.